It’s been a bit since I’ve made a post here about my 4100ES (mostly because there haven’t been many exciting updates), but there are now enough of them that I figured making a post was worthwhile.
Since my last post, there have been several software & hardware changes (I will attempt to put these in chronological order, but some may be wrong):
- The button cards in the second bay have been programmed as NAC annunciation as well as for various bypasses.
- This includes the SPS, XPS, and Flex 50 audio amplifier. The red LED lights up if the NAC is active from an alarm, and the green LED lights up when the button is pressed (and the NAC is manually activated).
- Bypasses for NACs on each set of outputs (SPS, XPS, Flex 50) are also there. The corresponding yellow LED lights up and trouble appears on the panel when the button is pressed.
- Addition of 4100-6038 dual RS-232 card (for future use, likely for external printer or data exfiltration of some sort).
- Addition of 4100-3206 8 relays 3 amp relay card. 2 relays are programmed for each type of event (fire, priority 2, supervisory & trouble).
- Both of these cards were courtesy of @dewpoint8900.
- Addition of 4100-1242 32min audio message expansion card (onto the audio controller).
- Allows for much greater customization of evacuation or other general-purpose messages I can use.
- Addition of 4100-6078 (version 5) 4120 network card, for use with the (not yet existent) 4120 network between the 4100ES, 4010ES, 4002, and other panels to come.
- This card came with 2 x 4100-6056 wired media module.
- Panel was transplanted from its old 2-bay 4100U cabinet to the new 3-bay 4100ES cabinet. This gives me additional expansion space, as well as finally having a dress panel!
- A third bay was built, containing only a 4100-5401 ES-PS power supply (for now).
- This is where the equipment for running IDNAC signalling will be housed, as well as some other components like an FPII. This also gives me the opportunity to add eight more button cards as well. Even with the ES-PS/IDNAC card and FPII, there will still be 4 open block spaces for additional cards that I plan to install later on down the road. Not totally sure what will go in there yet but all I know is that it’ll be cool!
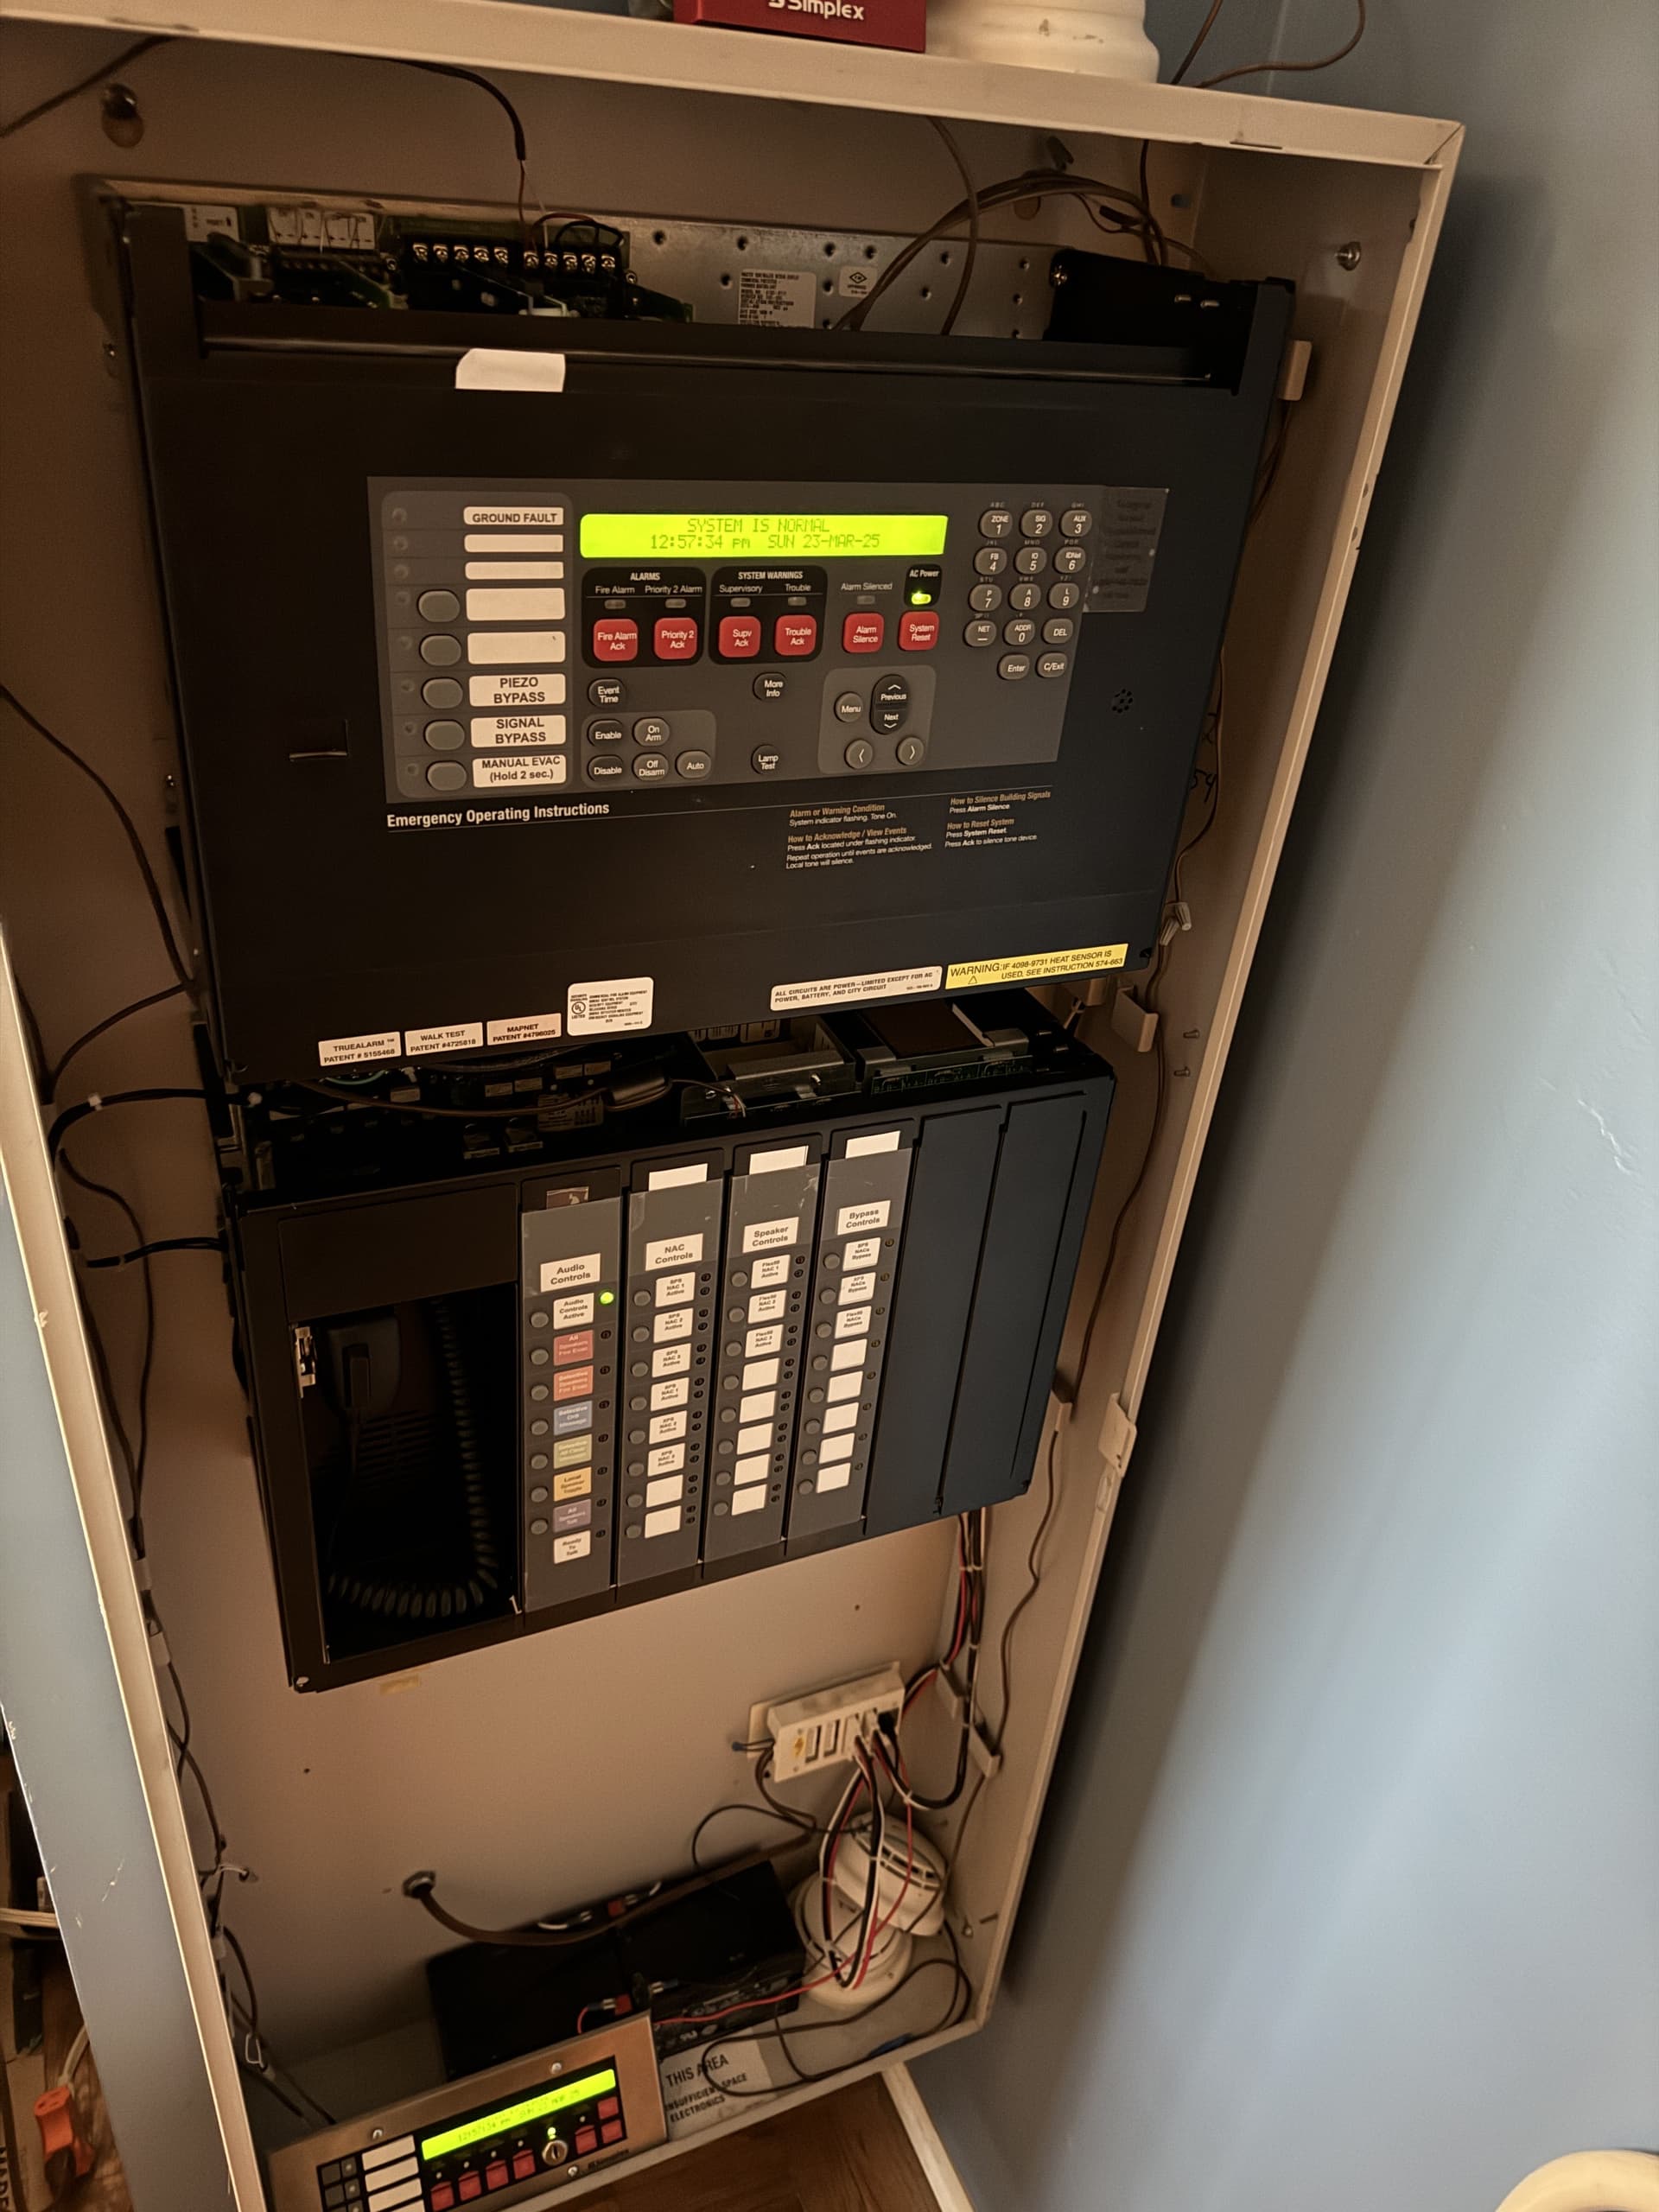
Here are some pictures of the panel, as it sits today.


(Slightly older image of the revamped button cards)

(During installation of the 3-bay cabinet)

That’s all, folks!

